
The Crochet Flower Potholder
This crochet flower potholder is a sweet vintage crochet potholder with a round center and ruffled, petal-like rounds. You make two petals, then seam them together to form one flower. The pretty edge is worked through both layers.
It is also very flexible with color. I made one in three colors, with pink for the center and outer edges and white petals with a little orange on top. Another has four colors: orange in the middle and on the outer edges, with pink, gray and white stripes in the petals. A third has orange in the middle and outside, a touch of pink in the petals, and gray to finish. Two solid colors, three colors or stripes all work beautifully.
Materials and Tools
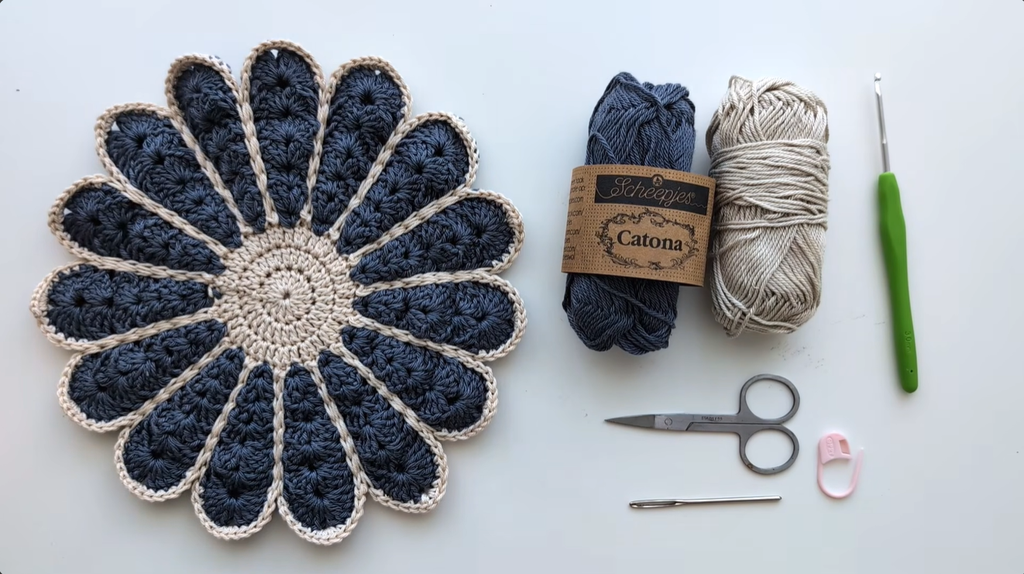
- Two different colors of DK weight cotton yarn. I use Scheepjes Catona, a 100% mercerized cotton. You need two balls for the petals and one ball for the center and outer edge.
- Alternative yarn: Lion Brand 24/7 Cotton. I only had the worsted weight on hand, but the DK version would work even better.
- Whatever yarn you choose, make sure it is cotton. A potholder will have hot things placed on it, and acrylic could melt.
- 3.0 mm crochet hook (size D)
- Scissors
- Darning needle to weave in ends
- Stitch marker (clips also work, and both are optional for seaming)
Stitch by Stitch
- Magic ring (MR): starts the center circle. You can also start with a chain instead.
- Chain (ch): starting chains, and the chain spaces between groups.
- Double crochet (dc): the three rounds of the center circle and all the petal rounds.
- Slip stitch (sl st): joining rounds, the color change, and the seamed edge worked down and up between the sc groups.
- Single crochet (sc): worked through both petals along the edge, in groups of five and groups of three.
Construction
Make 2 Petals
Round 1: Make a magic ring in the lighter (linen) color. To make it, wrap the yarn tail around your fingers twice, pull a loop through, and pull the tail to close it. Ch 3, which counts as your first dc. Work 14 more dc in the ring, for 15 dc total. Sl st in the third chain to join.
Round 2: Ch 3 and work a dc in the same stitch. Work 2 dc in each stitch around, for 30 dc total. Sl st in the third chain to join.
Round 3: Ch 3, which counts as a dc. Work 2 dc in the next stitch, then 1 dc in the following stitch. Repeat this sequence around for 45 dc total. Be careful not to work an extra stitch into the base of the ch 3, or you will end up with 46 and the petals won’t match in the next round. Sl st in the third chain to join.
Color change: Work two more sl sts. On the last slip stitch, insert your hook into the following stitch, set your working yarn aside (you can cut it), and drape your second color over the hook. Pull it through, then pull through once more for a seamless color change.
Round 4: Ch 4, which counts as a dc plus a chain. Work 1 dc in the same spot where your second color joined. Ch 1, skip 2 stitches, then work dc, ch 1, dc in the following stitch. Repeat around until you have 15 groups, keeping the chains in the middle of each group. Sl st in the third chain, then work one more sl st in the group of double crochets.
Round 5: Ch 3, which counts as a dc. Work 1 more dc in the space of the group from the round before, ch 1, then 2 dc in that same space. Ch 1, then 2 dc, ch 1, 2 dc all in the next group’s space. Repeat around. Sl st in the third chain, then work one more sl st in that space (or the next stitch, whichever you prefer).
Round 6: Repeat Round 5. Each group has 4 dc with a chain in the middle. Sl st in the third chain, then work one more sl st in that space.
Round 7: Ch 3, which counts as a dc, and work 2 more dc in the space. Ch 1, 3 dc, ch 1, then repeat in each space around. Sl st in the third chain, then work two additional sl sts: one in the next stitch, and one in the space or the stitch before it.
Round 8: Ch 3, which counts as a dc, and work 4 dc total in the space. Ch 2, 4 dc, ch 1, then repeat around. Sl st in the third chain, then work three additional sl sts. Work one in the first stitch and one in the following stitch, then one in the space (or two, one here and one there).
Round 9: Repeat Round 8. Sl st in the third chain, then work three additional sl sts.
Round 10: Ch 3, which counts as a dc, and work 5 dc total in the space. Ch 2, 5 dc, ch 1, then repeat around. Sl st in the third chain. You can stop here or work four additional sl sts, one in each of the next stitches. Cut the yarn, pull it through, and weave in your ends.
Assemble the Flower
- Place the first petal down with the wrong side facing you. Place the second petal on top with the right side facing you. The inner sides are the wrong sides, and both right sides face outward.
- Line the petals up exactly on top of each other. Precision here makes seaming easier.
- Optional: place a stitch marker or clip on the point of every third group to keep everything aligned.
- With your first color (the linen), insert your hook into any space within the groups, through both petals. Pull the yarn through, then yarn over and pull through once more to attach it.
- Work 5 sc in the five dc of Round 10, inserting your hook through both petals each time.
- Work a sl st in the ch-2 space of the previous round.
- Work slip stitches down along the edge until you reach the third round of the center circle. Work very loosely or your petals will bunch. Pull your hook down, insert it underneath both petals so you see it from the back, then grab the working yarn, pull it through, and lift up. It feels fiddly at first, but after a few you will fly through.
- Work 2 sl sts in the third round of the circle, going through the back stitches.
- Work slip stitches up the other side the same way, through both petals.
- Work 5 sc in the five dc, catching both petals. Then work 3 sc in the space from the previous round.
- Repeat the whole sequence around: 5 sc, sl sts down, 2 sl sts at the circle, sl sts up, 5 sc, then 3 sc in the space.
- To finish, sl st into the first dc of the group of five. Cut the yarn, pull it tight, and weave in the tail underneath the loops for a seamless look.
Wearing Your Crochet Flower Potholder
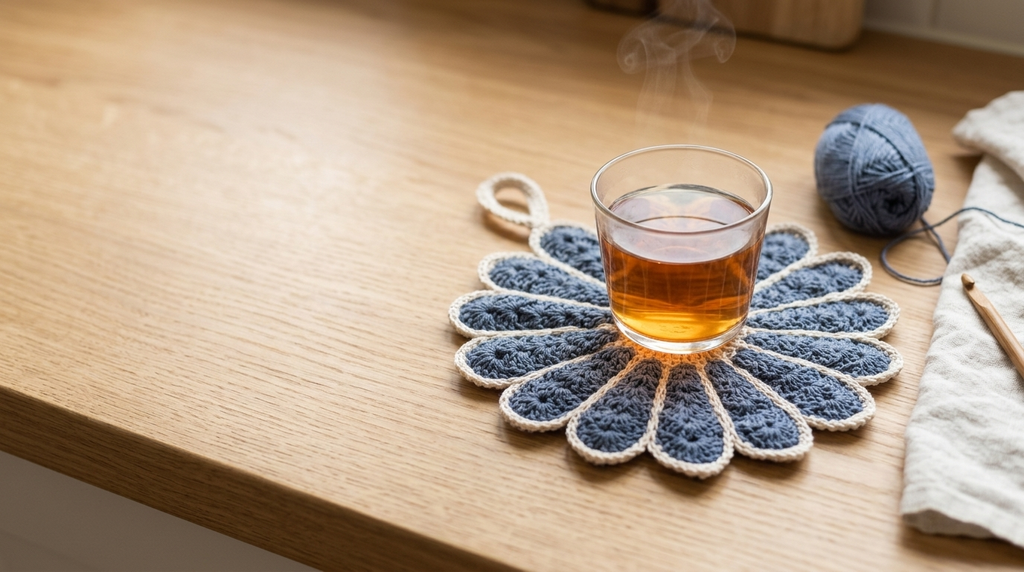
This cotton crochet potholder is made for the kitchen. Use it under hot pots and pans, or hang it as a bit of flower-shaped decor. Because you can choose any color scheme, you can match it to your dishes or your counter. Make a few in different colors for a set. It also makes a lovely handmade gift.
Keeping Your Crochet Flower Potholder Fresh and Lovely
Cotton is the right choice for a potholder because it will not melt when something hot touches it. Keep your flower potholder clean by treating spills early and letting it dry fully between uses. Your vintage crochet potholder will stay pretty and ready for the next hot dish.
This crochet flower potholder is a joy to make, so save the pattern to your Pinterest board and share your finished potholders with me. I would love to see your color combinations.
Follow us on Pinterest and subscribe to the Newsletter so you don’t miss a thing!
One Comment