Every autumn I look for a quick project, and this crochet pumpkin pattern is one of my cozy favorites. It works up fast, it has a lovely ribbed look, and it makes the sweetest little touch for your home. Grab your yarn and let’s get started.
This easy crochet pumpkin is worked as one flat piece that is stitched into a round shape. Because you work only in the back loops, the fabric grows ribbed lines that look just like the sections of a real pumpkin. The stitch pattern tapers toward both ends and is a little broader in the middle, which gives the pumpkin a lovely oval, roundish shape.
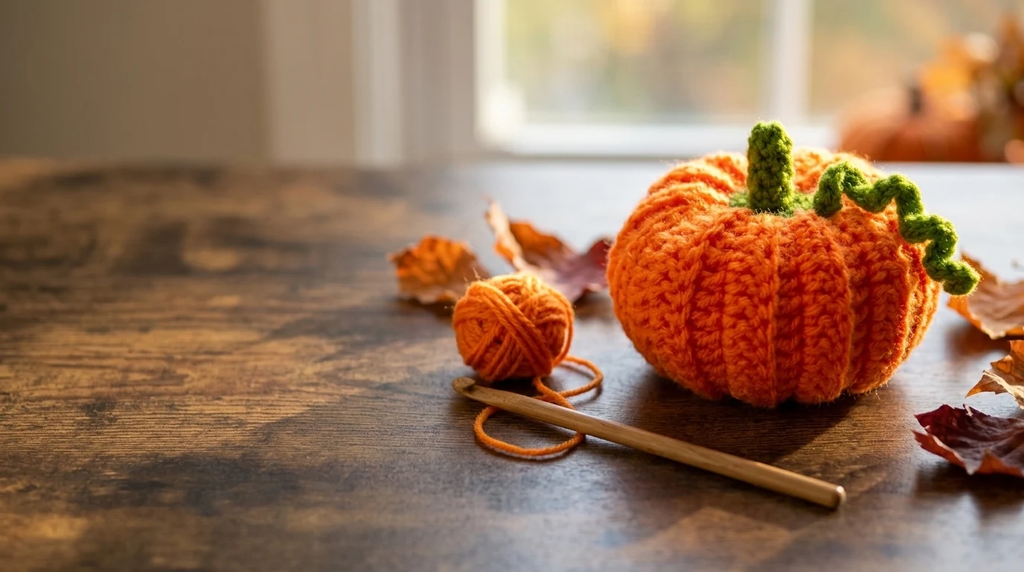
The Pumpkin
I made mine in classic orange with a green stem, but I also made a maroon version for a deeper, moodier look. The maroon one is worked a little differently and gives a squarer shape, so you can choose the style that suits your fall decorations best.
Related Posts:
- How to Crochet Mini Apples: A Sweet and Whimsical Delight
- How to Crochet a Spooky Amigurumi Bat: Step-by-Step Guide
- Ghost Halloween Crochet Pattern: The Complete Free Amigurumi Guide (Witch Ghost + Bonus Grim Reaper)
- Crochet Teddy Bear: A Cuddly Pom-Pom Plush Toy
Materials and Tools
- Orange yarn for the pumpkin body
- Green yarn for the stem and curly vine
- Maroon yarn (optional, for the squarer variation)
- Crochet hook
- Yarn needle
- Stuffing (filling)
- Stitch marker
Stitch by Stitch
- Slip knot: to begin the pumpkin
- Chain (ch): 21 for the pumpkin body, 15 for the curly vine, plus 1 at the start of each turn
- Single crochet (sc): at both ends of each body row, in the stem rounds, and along the vine
- Half double crochet (hdc): in the sections beside the single crochets on each body row
- Double crochet (dc): in the middle section of each body row
- Back loop only: for every body row after the first
- Magic ring (MR): to start the stem
- Slip stitch (sl st): to finish the stem rounds and the final stem round
- Increase: 2 sc in the same stitch on the vine and on the last stem round
Construction
The Pumpkin Body
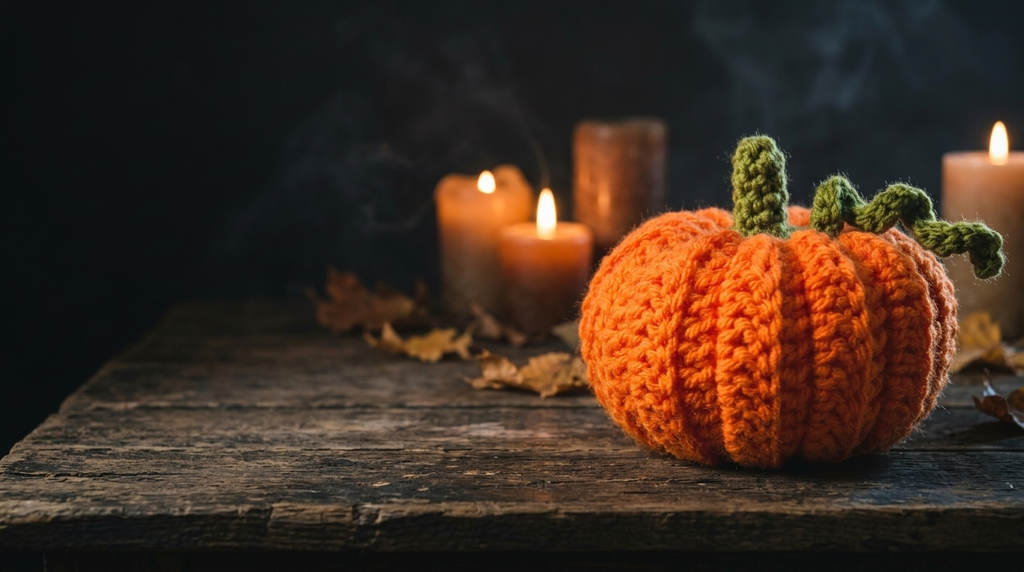
- Using the orange yarn, make a slip knot, then ch 21.
- Row 1: Starting in the second chain from the hook, sc in the next 3 stitches. Hdc in the next 3 stitches. Dc in the next 8 stitches. Hdc in the next 3 stitches. Sc in the last 3 stitches. The row tapers toward both ends and is broader in the middle.
- Ch 1 and turn.
- Row 2: From here on, work only in the back loop. Starting in the second stitch from the hook, sc in the first 3 stitches, hdc in the next 3, dc in the next 8, hdc in the next 3, and sc in the last 3, with the last sc in the back loop of the last stitch.
- Ch 1 and turn. Repeat the same pattern in the back loop only (3 sc, 3 hdc, 8 dc, 3 hdc, 3 sc) for a total of 25 rows. The back loops create the ribbed texture, and the piece will curve slightly.
- After the last row, ch 1, leave a long tail, and trim the orange yarn.
Joining and Closing the Pumpkin
- Thread the tail onto your needle. Stitch the last row to the first row, using the front loop of the last row and the single loop of the first row, which started with the chain. Both rows have exactly the same number of stitches, so you can pass the needle through each set of stitches until you reach the last one. The join is seamless and looks like another rib. You don’t need to turn the pumpkin inside out.
- Insert the needle in a zigzag through the stitches around one opening. Pull the tail to close it.
- For extra security, pass the needle across the opening from one side to the other, then back in the opposite direction. Pull tight so the opening closes fully, then make a knot. This becomes the bottom of the pumpkin.
- Stuff the pumpkin through the top opening.
- Once it feels stuffed enough, insert the needle through the bottom and bring it out through the top opening. Pull tight.
- Insert the needle in a zigzag through all the stitches around the top opening, then pull tight. The middle section converges inward and gives the pumpkin its look. Stitch across and make a knot.
- To hide the tail, insert the needle into the inside of the pumpkin and bring it out through a stitch on the other side. Pull tightly and trim the yarn.
The Stem and Curly Vine
- Make a magic ring, then ch 1 (this chain does not count as a stitch).
- Make 6 sc in the ring. For a thicker stem, you can add more sc to this round.
- Now work in a spiral. Make a sc in the first stitch and place a marker in it to mark the start of the next round.
- Make 1 sc in each stitch, for 6 sc per round. At the end of each round, remove the marker, make a sc in the same stitch, and place the marker back.
- Work a total of 7 rounds. For a longer stem, add more rounds, and for a shorter one, work fewer.
- After the 7 rounds, remove the marker and sl st to the top of the first stitch.
- Curly vine: Ch 15. Starting in the second chain from the hook, work 2 sc in each of the 14 remaining chains, for 28 sc in total. The chain curls up as you go. You can also add a leaf with any leaf pattern, but for this one I made only a single curly vine.
- At the base, make 2 sc in the last stitch of the chain. Then make 2 sc in the same stitch where you slip stitched before starting the chain. You can mark this stitch, as it is the first stitch of the eighth round.
- Round 8: Make 2 sc in each of the 6 stitches of the stem round. This is the base you will sew onto the pumpkin.
- Sl st to the first stitch, pulling the tail from below the vine to make this easier. Ch 1, leave a long tail, and trim.
Attaching the Stem
- Thread the long tail onto your needle. There is no right or wrong way to attach the stem, so use your own method if you prefer.
- I pass the needle through the back loops of the last stem round, then through a stitch of the pumpkin, and pull through both. Repeat around until you reach the vine.
- Make a knot at the last stitch. Insert the green yarn through the pumpkin, pull it out the other side, and trim to hide the tail.
The Maroon Variation
For the squarer version, ch 21, then make 1 hdc in each chain across. The original pattern gives a nicer oval, roundish shape that suits a pumpkin well, while this one is more square.
Wearing Your Pumpkin
This little pumpkin is meant for your fall decorations. Set one on a mantel, a shelf, or the center of your table. I love making a small set of them in different colors, orange alongside maroon, to line up on a windowsill. You can also tuck one into a basket of seasonal decor or give one as a handmade autumn gift. If you like a taller stem, just add more rounds.
Keeping Your Pumpkin Fresh and Lovely
Because this is a decoration, a little gentle care goes a long way. Dust it off softly with a lint roller or a soft brush, and spot clean if needed. Keep it away from damp spots and direct sunlight so the colors stay bright. When the season ends, store it in a dry, breathable container so it is ready to come out again next year.
I hope this crochet pumpkin pattern becomes part of your autumn traditions. Save it to Pinterest so you can find it when the leaves start to turn, and share your finished pumpkins with me. I would love to see your colors and stem choices.
Follow us on Pinterest and subscribe to the Newsletter so you don’t miss a thing!