Welcome to today’s guide to Crochet Mini Apples: plump little rounds with soft ribbed bodies, tiny brown stems, and bright green leaves. Holding one feels a bit like cupping a handful of autumn. Grab your yarn basket, and let’s make something small and sweet together.
The Mini Apples
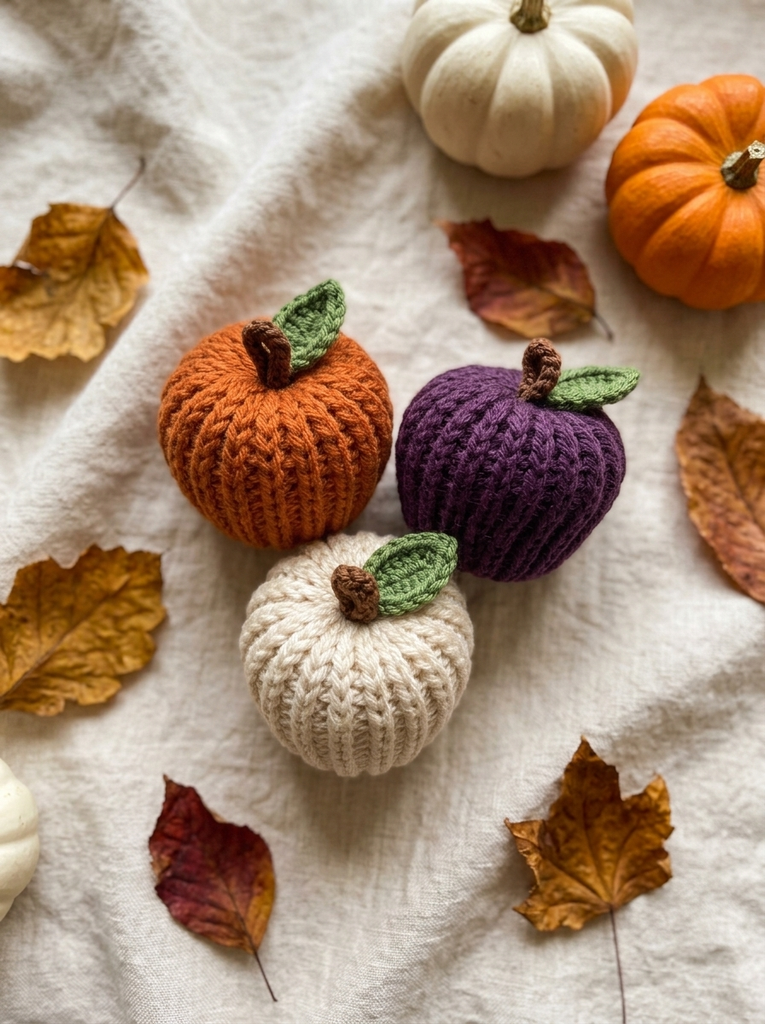
Crochet Mini Apples fall somewhere between decor and pure delight. They are small enough to rest in a bowl on your kitchen table, yet textured enough that visitors will pick one up just to run their fingers along the ridges. Each apple has a lovely roundness and a softly dimpled top, where the stem rises like a tiny exclamation mark. A single curved leaf adds a storybook touch. If you love handmade pieces that look almost good enough to eat, these are for you.
Mini Apples Related Posts
- Crochet Cake Roll Charm: A Sweet Whimsical Keepsake
- Crochet Teddy Bear: A Cuddly Pom-Pom Plush Toy
- How to Crochet a Spooky Amigurumi Bat: Step-by-Step Guide
- Ghost Halloween Crochet Pattern: The Complete Free Amigurumi Guide (Witch Ghost + Bonus Grim Reaper)
The color choices here are wonderfully playful. As the reference images show, blush pink looks like a ripe summer peach, soft mint green feels fresh and botanical, and warm cream yellow glows like a golden delicious apple in late-afternoon light. You can make a full set in all three shades. Or pick one color and crochet a dozen for a seasonal display that quietly shifts the mood of your whole room.
Materials and Tools
DK weight yarn is the ideal choice for Crochet Mini Apples. It has enough body to hold the apple shape without leaving the finished piece stiff or heavy. Choose a smooth acrylic or a cotton-acrylic blend. Both show off the ribbed texture beautifully, and both wash easily after your apples have been passed around by curious little hands. You will need a 3mm crochet hook, the same one shown in the reference image labeled 5/0, which gives you the firm tension that keeps the stuffing from peeking through. A blunt tapestry needle will help you close the top and bottom of each apple neatly. You will also need a small amount of brown yarn for the stem and green yarn for the leaf.
Stitch by Stitch
These Crochet Mini Apples use just a handful of stitches, and they will feel familiar in no time.
- MR (Magic Ring) – This is where you begin. Draw the yarn into a snug, adjustable loop that closes the base of the apple with no gap.
- SC (Single Crochet) – This is the main stitch of the body. It builds each round into a compact, even fabric that holds the apple’s curve.
- Inc (Increase) – Work two SC into the same stitch to widen the body at the right moments. This creates that full, round silhouette.
- Dec (Invisible Decrease) – Join two stitches together without a visible seam to taper the apple toward the top, keeping the surface smooth and free of gaps.
Working SC in continuous rounds has a calming rhythm to it. With each stitch, hook and yarn meet with a soft little click, and before long you are holding something that truly looks like a piece of fruit.

Construction
You will work each apple in the round from the bottom up. Start with a magic ring and increase outward to the widest point, then decrease back in toward the top. Add fiberfill as you go. This makes shaping easier and keeps the apple firm and round instead of collapsing. Crochet the stem separately as a small tube in brown yarn, then attach it at the top. Work the leaf in green yarn as a simple flat oval and sew it on beside the stem. For a slightly larger apple, add one or two extra rows at the widest section before you begin your decreases.
Wearing Your Mini Apples
Crochet Mini Apples are not worn in the usual sense, but they have plenty of lives beyond sitting still. Group three in a ceramic bowl for kitchen decor that softens an entire countertop. Tuck one into a gift bag as a handmade accent that outshines any store-bought ribbon. You can also string several along twine to make a garland that adds warmth to a shelf or window. When you finish that last decrease and pull your needle through the top, you will probably want to start another apple right away.
Keeping Your Mini Apples Looking Fresh and Plump
Since these little apples are filled with fiberfill, hand washing is the gentlest method. Give them a short soak in cool water with a little wool wash or mild soap. Then press them carefully between two towels to remove the excess water without distorting the shape. Avoid wringing or squeezing hard, because that can shift the fiberfill and flatten the round form you worked so hard to create. Dry them flat on a clean surface, and use your fingers to reshape each apple while the yarn is still damp. Once they are fully dry, store them out of direct sunlight to keep those pastel shades soft for as long as possible.
Every stitch you add to a set of Crochet Mini Apples is a small act of making something the world doesn’t strictly need but is quietly better for having. The full video tutorial by 小师妹手作 guides you through every round and detail, so it is worth saving to your playlist before you cast on. Pin this article to your Pinterest boards, so you can find it again the next time you want a project that is small in size but generous in charm.
Follow us on Pinterest and subscribe to the Newsletter so you don’t miss a thing!
3 Comments