Introduction
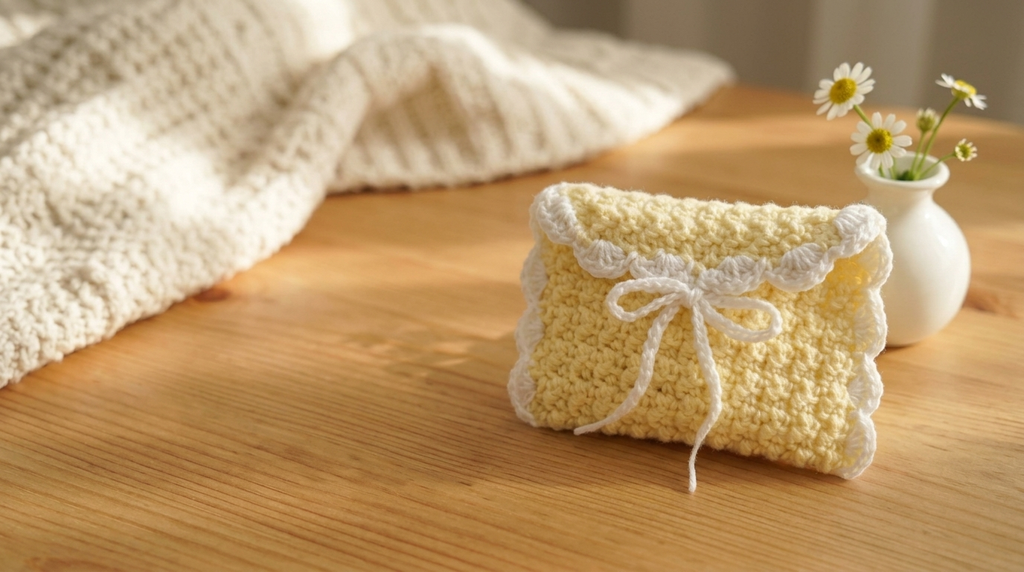
This textured crochet pouch pattern can be used to craft versatile items like pen pouches, wallets, sunglass cases, or book sleeves. It is simple to make using a basic alternating stitch pattern that creates a beautiful, raised surface.
Related Posts:
- Crochet Bubble Bag: A Chic and Timeless Accessory
- Crochet Breakfast Set: Tiny Treats You Can’t Eat but Will Love
- Crochet Kitten with Headphones: A Cozy Little Listener
Materials Needed
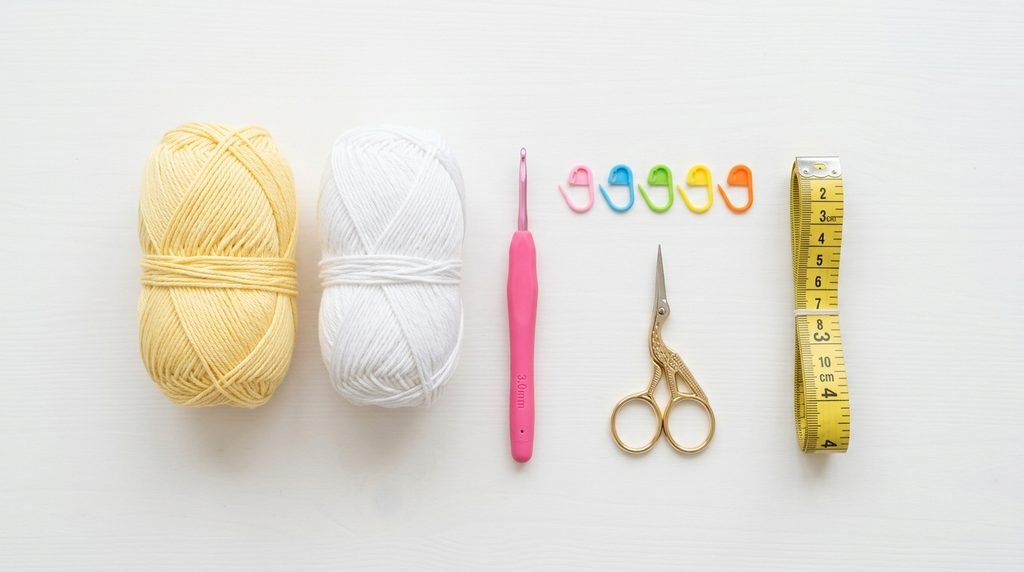
Yarn: Any yarn of choice (a weight 2 acrylic yarn works great).
Crochet Hook: 3mm hook, or the recommended hook size for your chosen yarn.
Second Yarn Color: For the decorative shell border and closing ties.
Stitch Markers: To mark key stitches and align sides.
Measuring Tape: Optional, but helpful for checking measurements.
Scissors.
Step-by-Step Instructions
Step 1: Make the Foundation Chain
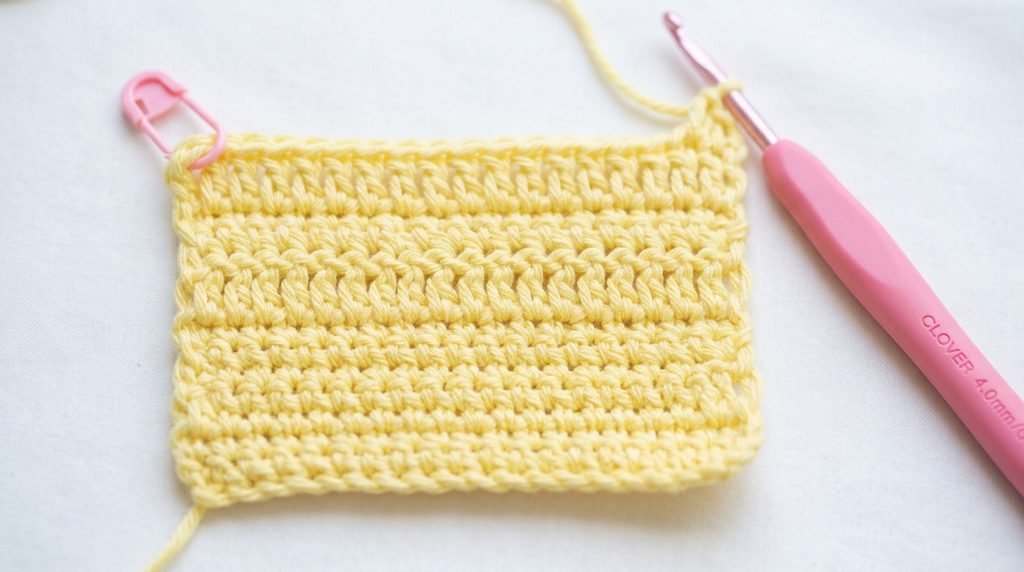
Start by making a slip knot. Wrap the yarn around two fingers, insert the hook under the outer loop, pull the other loop through, twist the hook, pull it through, and pull the two ends to tighten.
Create a chain of 14 stitches by wrapping the yarn around the hook and pulling it through the loop. You can choose any chain length as long as it is an even number.
A foundation chain of 14 measures approximately 2.5 inches (6 cm) in width.
Add 1 extra chain to finalize the foundation chain, making a total of 15 chains.
Step 2: Crochet Row 1
Twist the chain over to work into the back bump of the second chain from the hook for a clean finish.
Make a single crochet into the back bump by inserting the hook, yarning over, pulling up a loop, yarning over, and pulling through both loops. Mark this first stitch with a stitch marker.
Work a double crochet into the next back bump by yarning over, inserting the hook, yarning over, pulling up a loop, yarning over, pulling through two loops, yarning over, and pulling through the remaining two loops.
Alternate between single crochet and double crochet stitches across the entire chain.
End Row 1 with a double crochet in the last chain. Row 1 contains a total of 14 stitches.
Step 3: Crochet Rows 2 Through 64
Turn your work and pull the loop on your hook up slightly without making a turning chain.
Make a single crochet directly into the last double crochet from the previous row, and place a stitch marker in this first stitch.
Work a double crochet into the next stitch.
Continue alternating single crochets and double crochets across the row, placing the final double crochet into the marked stitch.
Repeat this exact row pattern for a total of 64 rows, maintaining 14 stitches in every row and always starting with a single crochet and ending with a double crochet.
Upon completing 64 rows, the piece measures over 14.5 inches (38 cm) in length.
Step 4: Shape the Flap with Decrease Rows
Decrease Row 1: Turn your work and pull the loop up slightly. Make a single crochet decrease over the first two stitches by inserting the hook in the first stitch, pulling up a loop, inserting into the second stitch, pulling up a loop, yarning over, and pulling through all three loops. Alternate double crochet and single crochet across until three stitches remain, work a double crochet into the single crochet, and complete a single crochet decrease over the last two stitches, leaving 12 total stitches.
Decrease Row 2: Turn your work and chain 1. Work a double crochet decrease over the first two stitches by yarning over, inserting into the first stitch, pulling up a loop, pulling through two loops, yarning over, inserting into the second stitch, pulling up a loop, pulling through two loops, yarning over, and pulling through all three loops. Alternate double crochet and single crochet across, ending with a double crochet decrease over the final two stitches.
Decrease Row 3: Turn your work without chaining 1. Work a single crochet decrease over the first two stitches, alternate single crochet and double crochet across, and finish with a single crochet decrease over the last two stitches.
Fasten off by chaining 1, cutting the yarn, and pulling it tight.
Step 5: Attach the Border and Join the Sides
Fold the main body to form the pocket shape, counting 6 rows down from the top flap to align the base corner with the side corner, and secure them with stitch markers.
Attach a second color yarn with a slip knot at a bottom corner by pulling the loop through both layers and chaining 1 to join.
Along the double-layered side, skip a small space and make 5 double crochets into the same space through both layers. Lay the shell flat to see where it lands, insert the hook through both layers, and make a slip stitch to join.
Repeat 5-double-crochet shells and slip stitches along the entire side.
On the top flap where stitches are clearly defined, slip stitch in the corner, skip 1 stitch, work 5 double crochets in the next stitch, skip 1 stitch, slip stitch in the next stitch, and repeat across.
Continue the shell border down the second side, joining both layers, then finish with a slip stitch, chain 1, and fasten off.
Step 6: Add Front Closing Ties
Join the second color yarn with a slip knot in the middle of the top flap, chain 30 stitches, and cut the yarn.
Fold the flap down to locate the matching center spot on the front body.
Attach yarn at that spot with a slip knot, chain 30 stitches, and cut the yarn.
Tie the two chains together into a bow to keep the pouch closed.
Step 7: Final Finishing

Use your crochet hook to weave in all loose yarn ends into the stitches.
Handy Tips
Customizing Width: Adjust the width of your pouch by making more or fewer foundation chains in multiples of two.
Stitch Placement Guide: Always place a single crochet on top of a raised double crochet from the previous row, and a double crochet on top of a shorter single crochet.
No Turning Chains: Avoid chaining 1 at the start of standard rows; simply pull the loop up slightly and single crochet directly into the first stitch.
Use Stitch Markers: Place a stitch marker in the first stitch of every row so you never lose track of stitches.
Checking Size: Fold the fabric over before starting the decrease rows to ensure your items fit inside with extra space at the top and bottom.
Thicker Border Option: Work more than 5 double crochets into each shell space if you prefer a thicker scalloped border
Adjusting Ties: You can trim or shorten the closing chains to your desired length
Conclusion
With simple alternating stitches and a pretty shell border, you can easily craft a customized, functional pouch. Use this versatile technique to create beautiful, handmade accessories for yourself or as thoughtful gifts.
3 Comments