
Make your own Crochet Bubble Bag and carry something truly handmade wherever the day takes you. Wear it crossbody on a lazy weekend market morning, hold it close at a gallery opening, or sling it over your shoulder for an everyday errand that deserves a little extra beauty.
The Bubble Bag
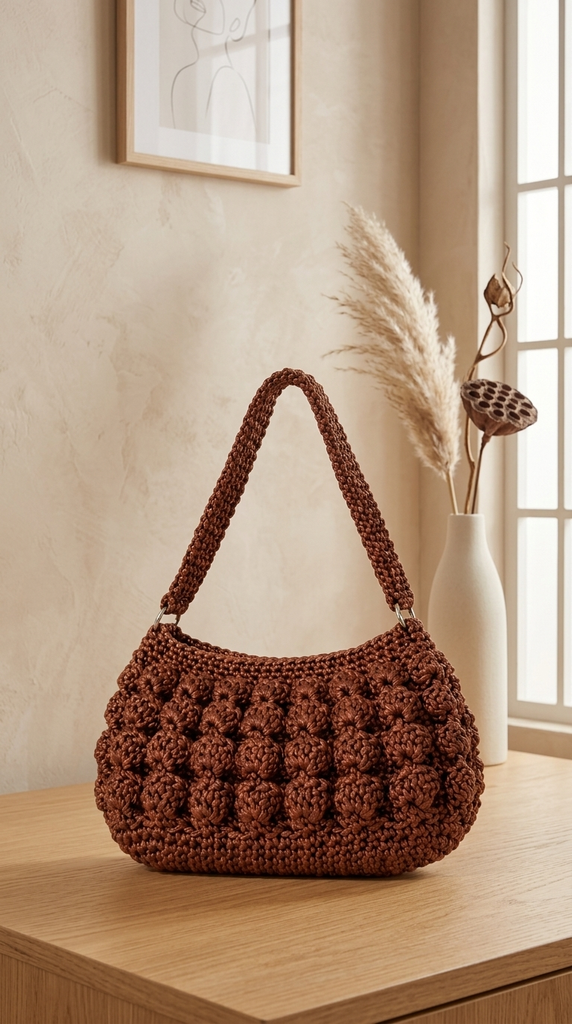
The Crochet Bubble Bag is the kind of piece that makes people pause mid-conversation. Its surface is covered in soft, rounded bobbles that play with light and shadow, giving the finished bag a sculptural, almost organic feel that no factory could copy. It looks airy yet holds its shape, roomy enough for your essentials while staying light against your body. If you want your work to be noticed and touched, not just glanced at, this bag is for you.
Bubble Bag Related Posts
- Crochet Breakfast Set: Tiny Treats You Can’t Eat but Will Love
- How to Crochet a Textured Lemon Peel Pouch
- Crochet Kitten with Headphones: A Cozy Little Listener
The rich chocolate brown in this tutorial has a warmth that sits beautifully beside camel coats, rust-toned scarves, and cream linen. You can just as easily make it in dusty rose, slate blue, or a deep, inky forest green if you prefer a moodier look. The shape is classic enough to carry you through every season without ever looking out of place.
Materials and Tools
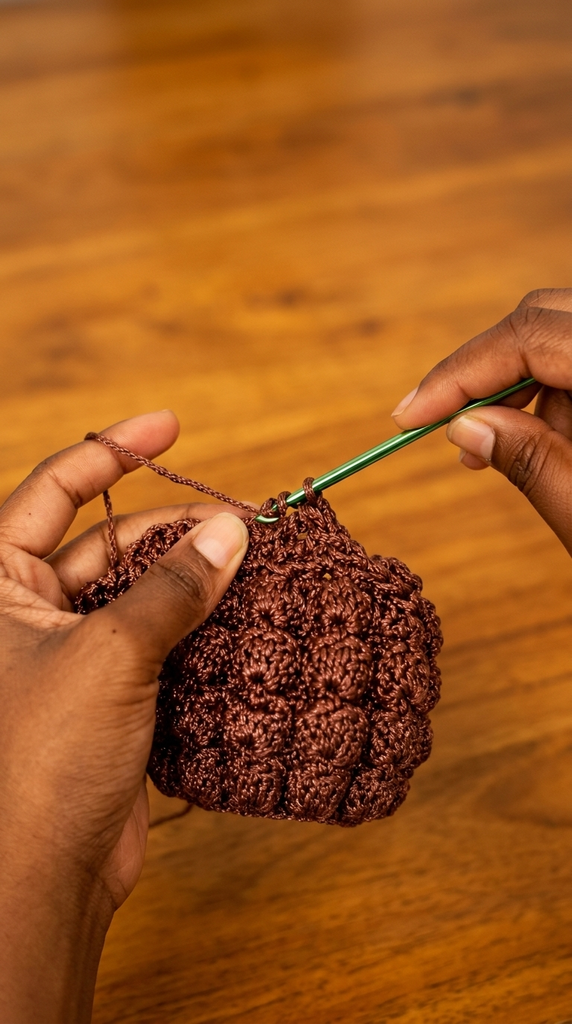
For the Crochet Bubble Bag in the tutorial, you will get the best results from a smooth DK weight or light worsted weight yarn. It lets the bobbles keep a clean, rounded definition without turning stiff or bulky. Choose a mercerized cotton or a cotton-acrylic blend: these fibers hold their shape row after row and add a soft sheen that makes every bubble stand out. Work with a 4mm crochet hook, which gives you the tension you need for firm, satisfying bobbles that will not sag over time. Keep a locking stitch marker close by during construction, since it helps you track where each repeat falls and keeps your count intact.
Stitch by Stitch
You only need a small handful of stitches to make the Crochet Bubble Bag, and your confidence will grow with every row.
- SC (Single Crochet) – Used across the base, the top edging, and the strap to build a dense, stable fabric.
- DC (Double Crochet) – Worked in clusters to shape the rounded bubbles that give the bag its signature texture.
- YO (Yarn Over) – Repeated yarn overs build each bobble, drawing the loops together into a plump, domed finish.
- Slip Stitch – Joins rounds and closes sections neatly, keeping the construction tidy and the edges crisp.
Once your hands learn the bobble repeat, the work settles into a calming rhythm and an hour slips by almost unnoticed. You will love feeling each bubble take shape under your fingers, knowing the texture is growing stitch by stitch.
Construction
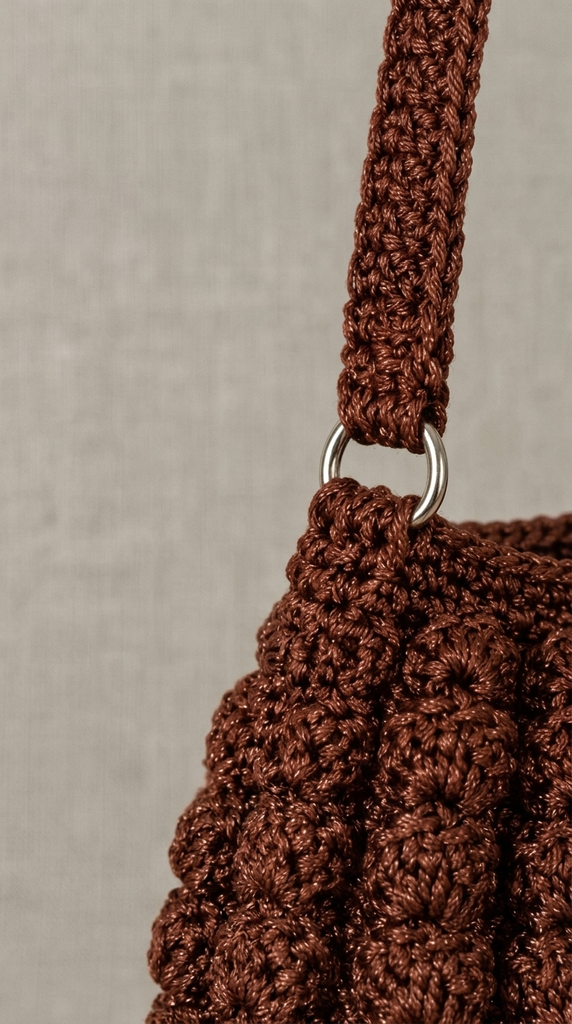
You will work the bag body flat, in rows, making the front and back panels separately and then joining them along the sides and base to form the finished shape. This method keeps the bobble pattern manageable, especially if textured stitches are new to you, because you always see your work face-on and can spot tension changes early. The strap is a long, narrow chain and SC strip that attaches with small D-ring hardware, which gives the bag the polished, structured finish you see in the completed version. If you would rather have a shorter shoulder bag than a crossbody, simply shorten the strap before you attach the hardware.
Wearing Your Bubble Bag
Worn crossbody over a simple white shirt and wide-leg trousers, the Crochet Bubble Bag becomes the star of your outfit. It looks equally at home over a knit cardigan on a cool afternoon walk, or with a slip dress and flat sandals for an easy, relaxed feel. By the time you work the last row, you will know exactly why you began.
Keeping Your Bubble Bag Looking Its Best
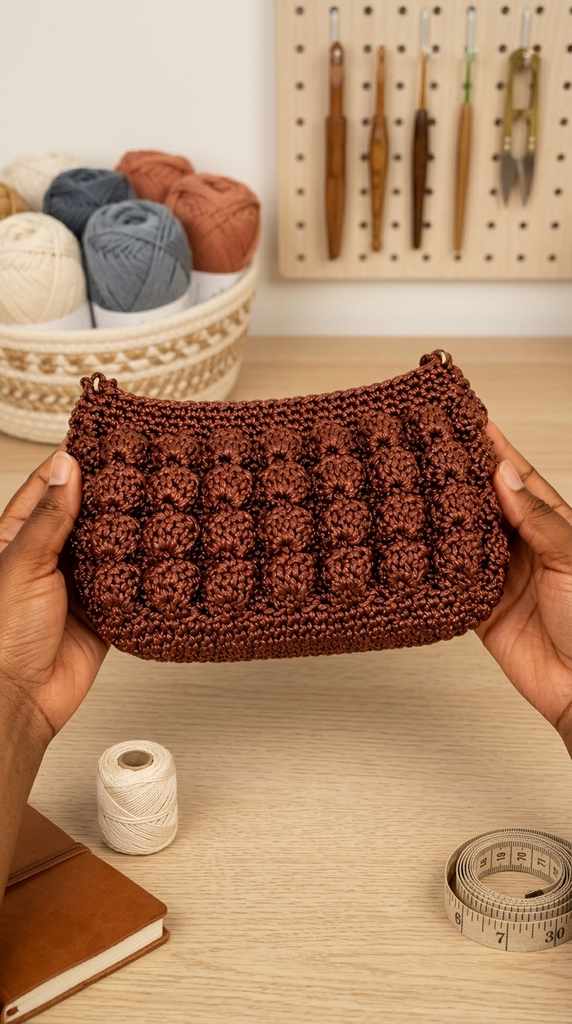
Because the bobbles hold so much air and dimension, hand wash your finished Crochet Bubble Bag in cool water with a gentle soap to protect the shape of every bubble. Do not wring or twist it. Instead, press it gently between two towels, reshape the bobbles with your fingers, and lay it flat to dry. If your yarn allows light blocking, pin the bag flat while it is damp so the sides sit evenly and the base stays square. Between uses, stuff it loosely with tissue paper so the bobbles keep their form instead of flattening under pressure.
You made something with your own hands that no algorithm could design and no conveyor belt could assemble, and that is worth more than any passing trend. Follow the full video tutorial from Mirrymascrafts to create yours, and when it is finished, share it on Pinterest so other makers can find this pattern too.
Tutorial and photos of this bubble bag by: MirrymasCrafts.
3 Comments