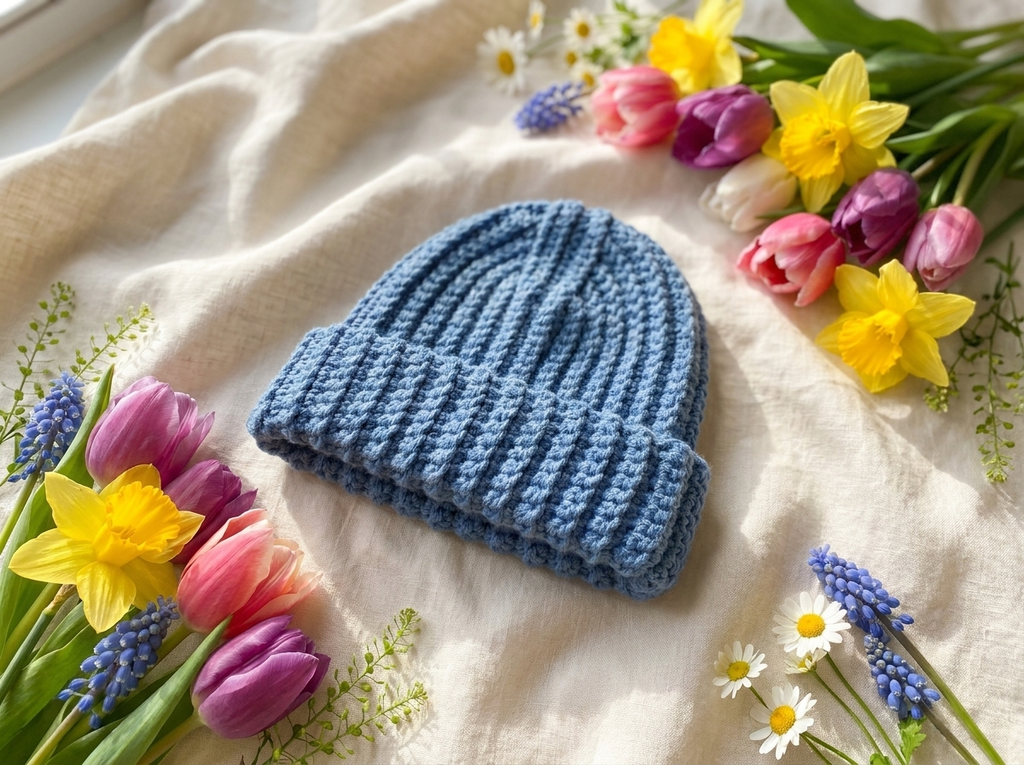
The Baby Hat
This hat is made for the 0 to 6 months size. It starts as one big panel worked back and forth in rows. Then the pieces are joined, and a simple hat comes together. Because everything is worked in back loops only, the fabric has a lovely ribbed look, almost like a knitted hat. If you prefer, you can present the finished hat folded in a different way for a slightly different look. Both ways are super cute.
Soft baby yarn in a gentle shade is a lovely choice, and this hat looks just as pretty in any color you love.
Related Posts:
- Crochet Baby Romper: Sweet Stripes for Tiny Wiggles
- Crochet Baby Pants: Ribbed Little Pants with a Tie Waist
- Crochet Ridge Stitch Blanket: A Soft Baby Blanket Crochet Pattern
- Crochet Baby Booties: Tiny Steps in Soft Yarn
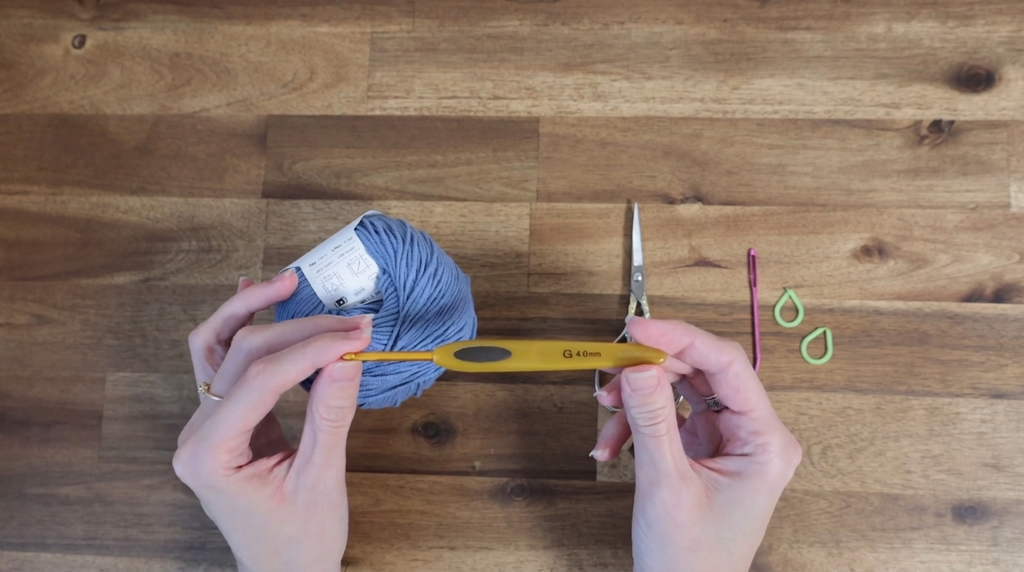
Materials and Tools
- Yarn and Colors Baby Fabulous yarn, 1 skein (50 g / 1.75 oz, 102 m / 111 yd)
- 4 mm crochet hook (I love my Clover hook because it glides so smoothly)
- Scissors
- Tapestry needle
- Stitch markers, at least 2 (more is even better)
Stitch by Stitch
- Slip knot: to begin
- Chain (ch): the foundation chain, the turning chains, and the 13-chain extensions
- Single crochet (sc): worked into the back bumps of the foundation chain in row 1, and then into the back loops only for the rest of the panel
- 2 sc in the same stitch: the increase, worked at the beginning or end of the row on the increase side
- Single crochet two together (sc2tog): the decrease, worked into back loops only
- Blanket stitch: joining the pieces (any sewing stitch you like works)
Construction
The hat is made in two halves, each worked as a panel in rows. All increases and decreases are made on the same side of the panel. That means they fall at the beginning or at the end of the row, depending on which side you are on. A stitch marker in a different color helps you see which side is which.
First half
- Make a slip knot and chain 26. Chain 1 more as your turning chain.
- Skip the turning chain and work into the back bumps, starting in the second chain from the hook. Place a stitch marker in your first stitch.
- Row 1: sc in each back bump across. You should have 26 sc. This row has no increases.
- Row 2: sc in the first 25 stitches, then work 2 sc into the last stitch. Chain 1, turn. You now have 27 stitches.
- Row 3: work into back loops only. Work 2 sc into the first stitch (use a different colored stitch marker here to mark the increase side), then sc in each stitch to the end. Ch 1, turn.
- Continue working in rows with back loops only, adding one sc each row on the same side as the increases. Rows 1, 7, and 12 are worked without increases, which keeps the top of the hat round rather than pointy.
- Row 14: ch 1, turn, and sc in each stitch across, with no increases or decreases.
- Row 15 (first decrease row): ch 1 to turn. Insert the hook into the back loop of the first stitch and pull up a loop. Insert the hook into the next stitch and pull up a loop. You will have 3 loops on your hook. Yarn over and pull through all the loops. This is your first sc2tog. Place a stitch marker in it, then sc in the back loops to the end.
- Continue in rows with sc2tog decreases on the same side as the increases. Rows 14, 16, and 21 have no decreases, so only sc in those rows. Keep going until you finish row 26.
- Chain extension: at the end of row 26, chain 13 (one chain for each row in the section you are building). Then chain 1 more as your turning chain. If you add rows to the pattern, add one chain for each row you add.
- Skip the turning chain and work into the back bumps, starting in the second chain from the hook, until you have 13 sc.
- Twist your work and continue into the back loops of the row. This is the first row of the extension. Work 2 more rows, so you have 3 additional rows in total.
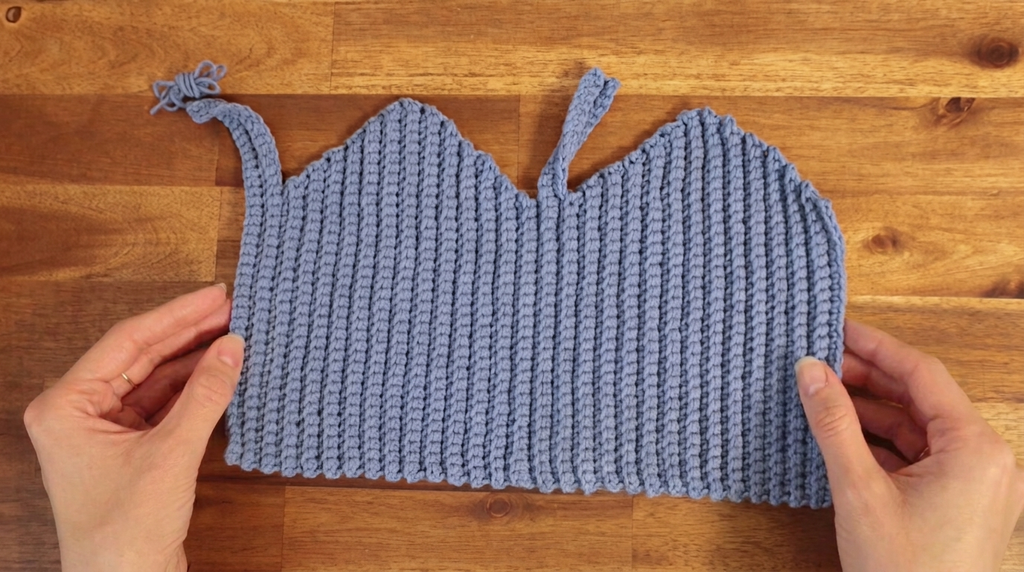
You now have 26 rows, then 3 additional rows. The shape looks a bit like a little house.
Second half
The second half is almost the same, with one small difference. You begin with the first row going up this time, so the increases and decreases are on the opposite side, the top. The rows with no increases or decreases stay the same as in the first half. Work 26 rows, then 3 additional rows, then 25 rows.
- Make a slip knot and chain 13.
- Because the last row has one stitch less, attach this chain to the main part with a sc2tog. Work into back loops only. Insert the hook into the loop, pull up a loop, insert the hook into the next stitch, and pull up a loop. You will have 3 loops on your hook. Pull through all the loops.
- Sc in each stitch to the end of the row. This finishes row 26 of the second part.
- Work 1 sc in each stitch across, and repeat for 3 rows in total.
Both halves of the panel should now be exactly the same.
Assembly
- Decide which side of the work you like best. Join the two parts at the top.
- I like to join with a blanket stitch, but you can use any sewing stitch you usually use for joining crochet pieces.
- Use just one loop for the whole seam, either always front loops or always back loops. Mixing them will make the hat look uneven. I sew on the inside of the hat, so I use back loops, which keeps them hidden.
- Close the tiny loops at the ends. Working this way gives a beautifully neat edge.
- Repeat on the other sections and close the hat, sewing each part in turn. Leave the bottom side open.
- Turn the hat right side out and make sure all the yarn ends are secured between the stitches.
Wearing Your Baby Hat
This hat is perfect for a newborn coming home from the hospital, and it makes a lovely baby shower gift. It pairs well with a little knitted-look cardigan or a soft blanket. You can also tuck it into a gift basket with booties and a toy. It makes a sweet photo prop too.

Keeping Your Baby Hat Fresh and Lovely
Check the label on your yarn for the care instructions it recommends. Handwashing gently in lukewarm water is a safe choice for delicate baby items. Press out the water without wringing, and lay the hat flat to dry so it keeps its shape. Store it folded in a drawer away from direct sunlight.
I hope you enjoy making this little hat as much as I do. Save it to your Pinterest board so you can come back to it any time, and share a photo of your finished hat with me. I would love to see your colors and your tiny models.
Follow us on Pinterest and subscribe to the Newsletter so you don’t miss a thing!
5 Comments